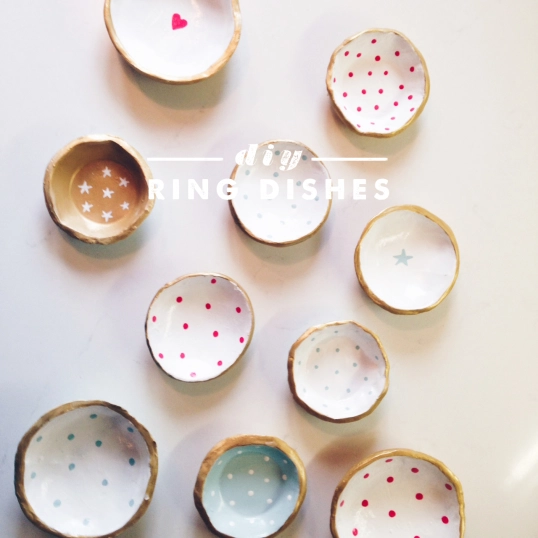
Every Christmas I get the crafting bug. And if you read the “about” page you know that I am a very reluctant crafter. I like fast crafts that look like they took a long time. I am all about eye-balling. So this year, I combined this pin and this pin to come up with the rustic-lux dotted ring dish.
Materials needed:
air dry clay
rolling pin
small ceramic bowl
acrylic paint + gloss
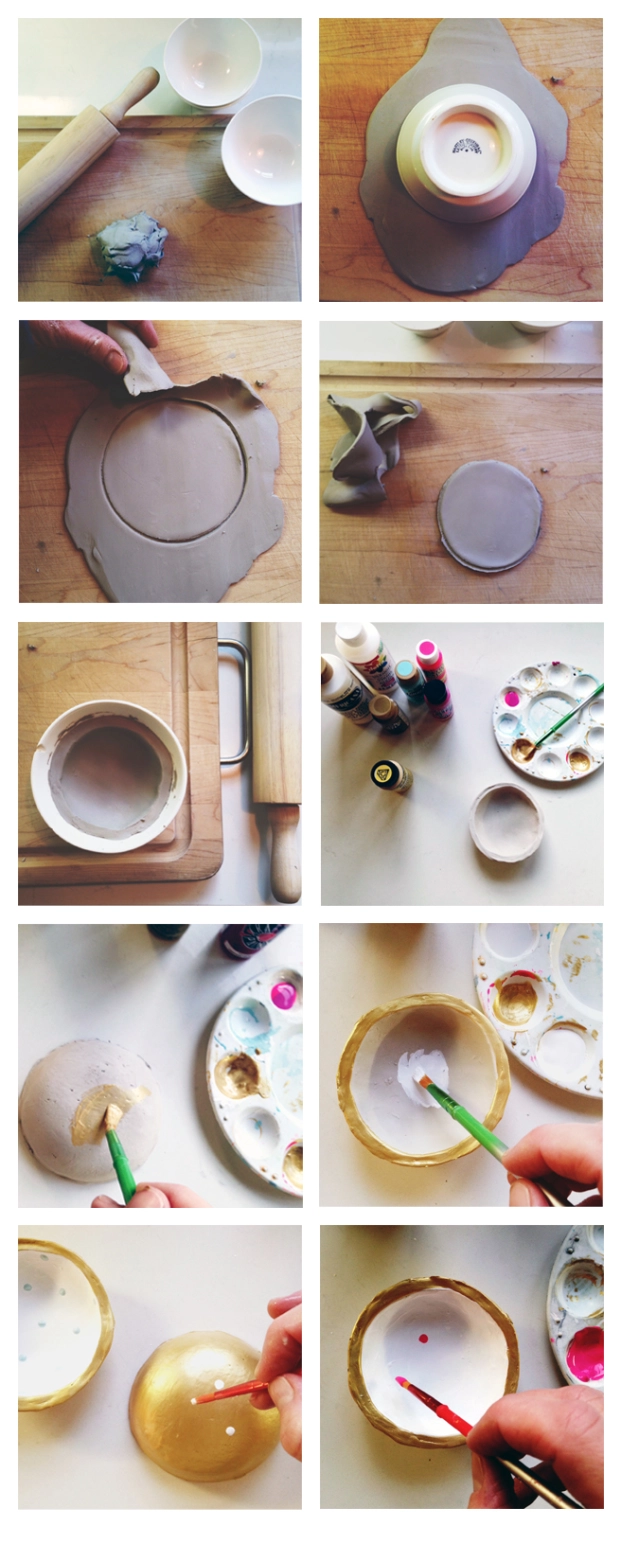
S T E P 1:
Using a tennis ball size hunk, roll out your clay until it is an even, 1/4 inch thick.
S T E P 2:
invert your bowl and twist a few times into the clay until you are all the way through. Lift bowl away.
S T E P 3:
Peel away excess clay and set aside for your next bowl.
S T E P 4:
Press the disk of clay down into your bowl. Do not push it in the center too hard. It does not need to touch the bottom. At this point you can smooth the edges with your finger.
S T E P 5:
Let dry for 24 hours. Do not try and take the clay out of the bowl until at least 12 hours later. You may need more drying time for the unexposed edges.
S T E P 6:
Paint the bottom. Let dry.
S T E P 7:
Paint the inside and top edges. Let dry.
S T E P 8:
Paint your dots. Less is more here. people!
S T E P 9:
Paint a clear gloss coat. Let dry.
Besides waiting on the clay to dry, this is a FAST, fun craft. I made many bowls all at once and then painted them the next day. We gave them as teachers gifts, with a quote saying “this gift is to hold your precious things since you hold our’s all day long”.

They look great. Can i wash them like normal dish? Thanks
Oh no! Please don’t wash them. The air dry clay can be brittle. Just wipe them with a damp cloth.
Pingback: 15 Clay DIY Projects - DIYCraftsGuru